
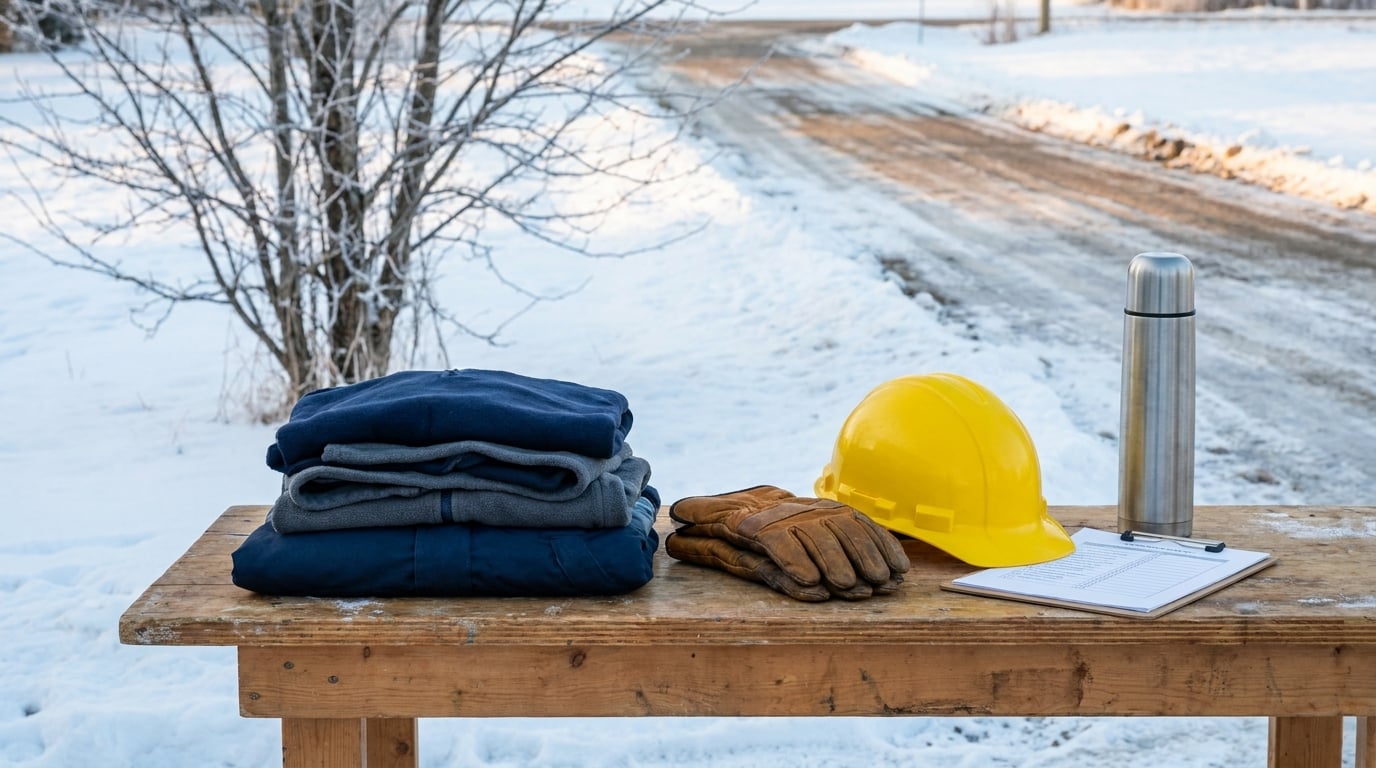
Cold stress is the dangerous loss of body heat a worker suffers when cold air, wind and moisture strip heat away faster than the body can make it. It shows up as shivering and numb fingers first, then as chilblains, trench foot, frostbite and hypothermia.
Cold stress prevention for outdoor workers is mostly planning done before anyone steps outside: check the real wind chill, dress in layers that keep water out, schedule shorter exposure blocks with warm breaks, and watch your crew for the early signs. Reviewed for 2026, this guide follows the framing used by OSHA, NIOSH and several state plans. It takes about 20 minutes to read and another 20 with your supervisor to turn into a written plan for your site.
Nobody gets hurt because they did not know cold exists. They get hurt because the wind picked up, the task got wet, the shift ran long, and the warning signs got read as ordinary tiredness. Every control below exists to break one of those four links.
Table of Contents
What You Need
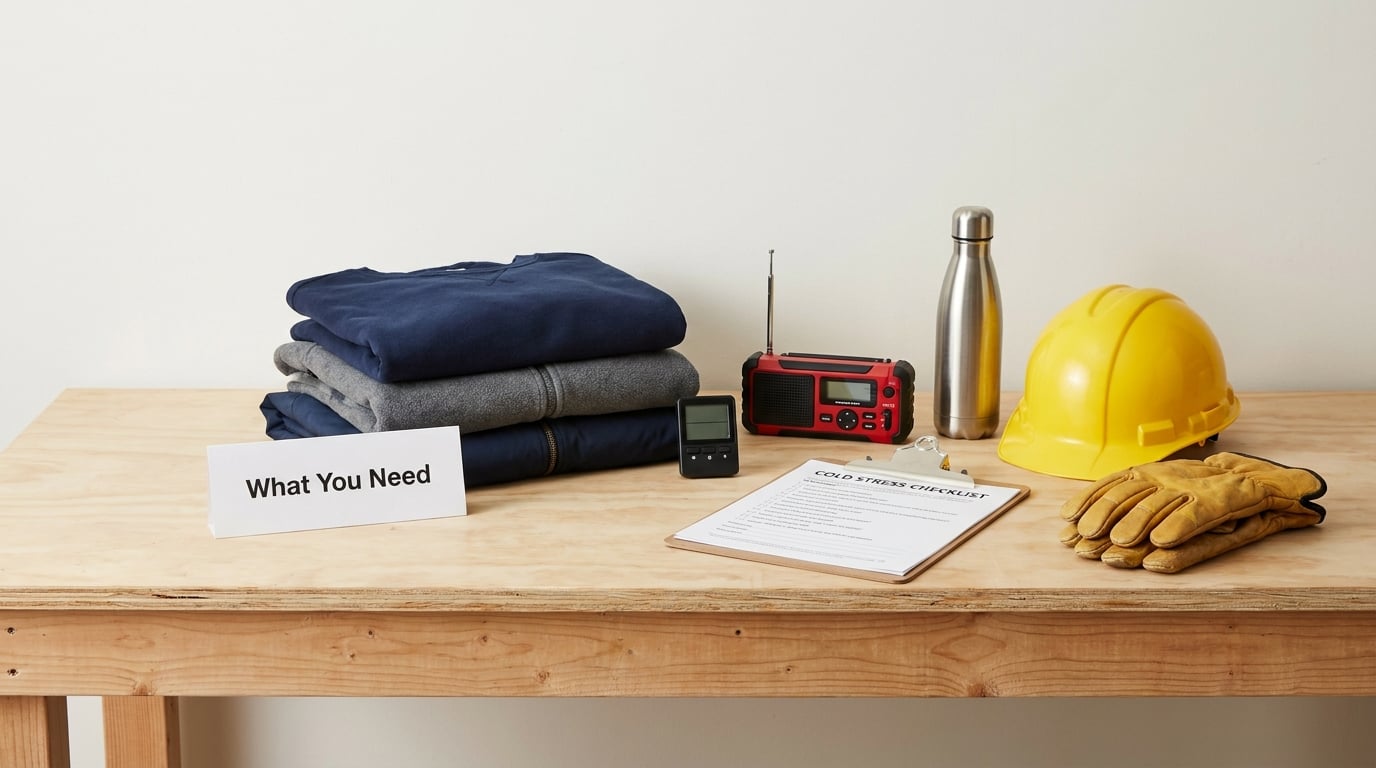
Assemble this before the first cold morning, not during it. Most of it is cheap, and a few items may already be on site.
Planning information
- Access to a current forecast and a real reading from the work site. Air temperature alone understates the hazard, because wind is what strips the warm air layer off your skin.
- A written cold weather plan for the site: who can delay or stop a task, who gets called, and what thresholds trigger a change.
- A daily pre-shift briefing slot on the schedule, with the day’s trigger points written down rather than mentioned verbally.
- Task knowledge. A crew unloading a truck in the wind is a different exposure problem from a roofer doing steady work, and the schedule should reflect that.
Clothing and equipment
- A base layer that moves sweat off the skin, an insulating mid layer, and a windproof and water-resistant outer shell.
- Insulated water-resistant gloves, a second thinner liner pair for backup, insulated waterproof boots, and thermal socks you can change.
- A thermal balaclava or face mask, and a hat that fits under your hard hat. Head heat loss is a large share of total heat loss.
- Hand warmers, spare gloves, spare socks, and a dry layer stored in a warm place on site. Wet clothing is the single most dangerous item in a cold kit.
Warm-up facilities and monitoring
- A heated or sheltered warm-up area close to the work face. A running truck or car is not a warm-up area; it stops warming the body the way a heated shelter does.
- A radiant heater positioned where crews can warm up without stripping off clothing.
- A hot drink station, with warm water and sports drinks available. Avoid relying on vending machines that only serve cold drinks in December.
- A buddy check routine built into the shift, and a written list of emergency contacts plus how to summon EMS from your location.
Cold Stress Prevention for Outdoor Workers: Step-by-Step
How do I start cold stress prevention for outdoor workers?
Start before the shift with the wind chill, not the thermometer. The wind chill index estimates the equivalent chill temperature from air temperature and wind speed, and it is the number your work-rest schedule should be keyed to. OSHA’s guidance puts planning cold weather work and dressing appropriately as the two most important controls, and Oregon OSHA’s cold stress guidance says the same in nearly those words.
Next, screen the crew for risk factors that change today’s limits. Wet work, exhaustion, poor physical condition, age, cardiovascular illness, Raynaud’s disease, and alcohol or medication use all lower the amount of cold a person can handle. A new hire on their third winter morning is a different case from a worker who has done the job for ten years.
Communicate the hazard, then set the trigger points. Write down the conditions that mean delay, the conditions that mean cancellation, and the conditions that mean warm breaks double in length. If the trigger point lives in someone’s head, it will not fire at 6am on a windy site.
Many cold weather programs run on a simple five-part checklist, often called the five Ps:
- Provide warm shelters, radiant heaters, warm drinks and dry clothing.
- Protect workers with layered, properly fitting cold weather PPE.
- Pack an emergency response kit with blankets and extra clothing.
- Pair workers so nobody spends a shift alone outdoors.
- Plan the work around the weather, with work-rest limits and a clear stop-work call.
An older four-P version is still in circulation, built on provide, protect, plan and prepare. If your site documentation lists four, treat the missing item as a gap and add pairing or packing, not as a reason to skip it.
What clothing and equipment should outdoor workers use?
Use a three-layer system, and make every layer earn its place. The base layer wicks moisture away from the skin, the mid layer traps air as insulation, and the outer shell blocks wind and water while venting heat when you start working hard.
- Base layer in moisture-wicking polyester or merino. Never cotton. Cotton holds sweat against the skin, and wet cotton against cold skin loses heat faster than almost anything else in a winter kit.
- Mid layer in fleece, wool or synthetic insulation. It should open or come off easily, because a worker who overheats and then sweats is a worker who gets cold.
- Outer shell that is windproof and water-resistant, with vents or a design that lets heat escape during heavy work. Fit matters more than brand: an oversized coat flaps, catches and lets wind through the opening.
Protect the extremities next, because hands, feet, ears and nose have no muscle to generate heat and small blood vessels that constrict fast.
- Hands: insulated water-resistant gloves as the outer pair, with thin liners worn underneath. Have a second pair dry and warm on site, because gloves fail early.
- Head and face: a thermal balaclava or facemask, plus a hat that fits under the hard hat. Loss of head heat is a large share of total heat loss, and exposed ears frostbite first.
- Feet: insulated waterproof boots, worn with thermal socks. Change socks the moment they are damp, since a wet foot loses heat quickly and frostbite of the toes is hard to detect.
- Hands again: hand warmers in pockets or under gloves for crews doing steady, low-intensity work where dexterity matters more than raw warmth.
Check the fit of everything. Garments that are too tight restrict circulation, and garments that are too loose let wind in at the gaps. Winter gear also has to keep the crew visible, so high-visibility outer layers need to be the correct size rather than a layer hidden under a bulky jacket.
For snow removal and other prolonged cold tasks, NIOSH’s guidance on a fatal snow-clearing incident lists the PPE it recommends, including coats, gloves, thermal socks, snow pants, snow boots, and a thermal facemask or balaclava. That list is a useful floor, not a ceiling.
How should employers schedule work and breaks in cold weather?
Schedule shorter exposure blocks and longer warm breaks, then hold to them. A crew that takes a fifteen minute break at the scheduled time arrives back able to work; a crew that skips until someone visibly shivers has already overshot.
| Air temperature | Heavy work | Moderate work | Light work |
|---|---|---|---|
| Below 32 F (0 C) | 15 min work, 45 min warm | 30 min work, 60 min warm | 45 min work, 75 min warm |
| 33 F to 40 F (1 C to 4 C) | 30 min work, 60 min warm | 45 min work, 75 min warm | 60 min work, 90 min warm |
| 41 F to 50 F (5 C to 10 C) | 45 min work, 75 min warm | 60 min work, 90 min warm | 90 min work, 90 min warm |
| Above 50 F (10 C) | 90 min work, 90 min warm | 90 min work, 90 min warm | 90 min work, 90 min warm |
This table is a planning starting point commonly used in job hazard analysis programs, not an OSHA requirement. Set your own limits against the forecast, the task, the wind and the crew, and tighten them whenever the work is wet or the people are new.
A few scheduling rules make the difference in practice. Break in a heated shelter, not a parked vehicle. Rotate crews through the coldest exposure so no single person absorbs the whole windward side of the job. Schedule demanding or long-duration tasks for the warmest part of the day, and push them indoors when you can. Give new and returning workers a lighter first week, since acclimatization to cold does not happen overnight.
On employer duties, be precise about what the rules do and do not say. There is no OSHA standard specific to cold stress, so most citations rest on the General Duty Clause, plus state-plan or general provisions. Oregon OSHA and WorkSafeBC both publish detailed cold stress guidance, and in several states and provinces a worker may refuse work they reasonably believe is unsafe. You may also have a right to raise the concern to a safety committee, occupational health and safety committee, or regulator, with protection from retaliation. Rules differ by jurisdiction, so check your own state’s or province’s rules and your collective agreement before making a call on the spot.
How do supervisors monitor workers for cold stress?
Watch people, not thermometers. A cold-stress assessment is a conversation and an observation, repeated on a schedule rather than at the end of a shift.
Early signs, in rough order of how often they show up:
- Shivering, which is the body’s first and most obvious alarm
- Numb fingers, hands, feet or face
- Clumsiness, fumbling tools, dropping fasteners
- Fatigue, and complaints that the work suddenly feels much harder
- Pale or waxy skin, or flushed skin in an odd pattern
- Slow or slurred speech, and a person who seems quieter than usual
Emergency red flags. Treat these as a stop-work and call-EMS situation, not a coffee-break situation:
- Shivering suddenly stops while the person is still cold. This is a bad sign, not an improvement.
- Confusion, unusual behaviour, slurred speech, or difficulty speaking at all
- Drowsiness, clumsiness with loss of coordination, or stumbling
- Slow, shallow breathing, or a weak pulse
- Skin that is bright red and dry, or waxy and pale, and skin that feels hard or leathery
Run buddy checks on a timer, every 30 to 60 minutes on a long shift, and ask the question that gets real answers: “How do your hands feel?” Workers will tell a supervisor they are fine, and they will tell a partner they are losing feeling in their fingers. That is why pairing works and why lone outdoor work in severe cold is a bad idea.
Pay extra attention to the people most likely to be missed: the new hire, the worker back from injury or illness, the crew member doing a wet task, the older worker, and anyone on shift after a night of poor sleep. Fatigue, hunger and alcohol the night before all reduce the body’s margin.
What should employers do if a worker becomes hypothermic?
Act in this order, and call emergency medical services early rather than waiting to see whether the person improves on their own.
- Call EMS and give them your exact location, access point and gate number. Cold emergencies on job sites are hard to find, especially at a rural site or a road closure.
- Move the person to a warm, sheltered, wind-free location. Get them out of wet clothing and into dry layers or a blanket.
- Insulate from the ground and from the cold surface, including the head. Handle the person gently, because rough movement can trigger cardiac problems in someone who is severely chilled.
- Warm gradually and do not use direct heat. No hot water on skin, no hair dryer, no rubbing of the arms and legs, no high-output heat against the body. Rewarming too aggressively, or rewarming the limbs first, can pull cold blood back to the core and make things worse.
- Monitor and hand over to EMS when they arrive, including when the exposure happened and what the person has done since.
This is why the question “why can’t I get warm after being outside in the cold?” comes up so often. The process is called afterdrop, and it is the reason a person can keep getting colder after they have already come indoors. When severe cold constricts the blood vessels in the arms and legs, blood flow to those limbs drops. As those vessels open again during rewarming, cold peripheral blood returns toward the core and pulls the core temperature down further, sometimes for a while. Add the fact that heat production is suppressed at low core temperatures, and the body can stay stuck for hours. Slow, monitored, whole-body rewarming is the answer, not a hot shower and a space heater.
Frostbite needs its own rules. Do not rub the affected skin, and do not break blisters. Do not thaw tissue if it might refreeze before medical care, because refreezing causes more damage than staying frozen. If thawing is appropriate, use water that is warm, not hot, and warm the whole person as well as the limb. Warmed hands and feet will tingle, and that is expected; deep frostbite can destroy sensation entirely, so check the ear tips, nose and cheeks rather than relying on what the person says they feel.
Trench foot and immersion foot show up after a full day in wet boots and wet socks, sometimes with no pain at all. The skin turns pale, mottled, swollen or blistered, and the risk is infection and tissue damage if it goes untreated. The fix is simple and preventive: change socks and dry the feet at breaks, and treat wet work as high risk no matter how warm the air feels.
Common Mistakes
Treating one weather app as the plan. A phone app shows forecast temperature for a town, not the wind funnelling between two buildings at your site, and it was not written for the layer system you specified in the job hazard analysis. Check more than one source, take a reading on site, and let the on-site number win.
Putting cotton in the winter layers. It feels fine dry and terrible wet, and it holds moisture against the skin exactly when you need warmth most. This is the single most common clothing mistake on cold jobs.
Counting a parked truck as a warm break. A vehicle that is not properly heated, or that the crew jumps in and out of, does not warm the core the way a heated shelter does. Plan breaks where people can stay warm, remove outer layers, and actually recover.
Ignoring acclimatization. Workers returning from a warm month, coming off injury, or new to the job have far less tolerance. Start them on lighter exposure and build up, and do not let a fast worker set the pace for the whole crew.
Rewarming too fast, or rewarming the wrong parts. Direct heat, hot water, rubbing limbs and heating hands and feet first can all drive cold blood back toward the core. Remove wet clothing, insulate, and warm the whole body slowly.
Reading the early warning signs as normal tiredness. Shivering that stops, slurred speech and clumsiness with a fall in alertness are not signs of a rough morning. They are the point at which the shift stops and medical help starts.
Leaving food and drink out of the plan. Warm, high-calorie foods and warm drinks support heat production. Heavy meals right before a shift leave people warm and drowsy, and caffeine, alcohol and sugary drinks work against you; alcohol in particular widens the vessels and increases heat loss while dulling the sense that you are cold.
Frequently Asked Questions
Can you refuse to work outside if it’s too cold?
Often yes. There is no OSHA standard specific to cold stress, so employers fall under the General Duty Clause, state-plan rules and their own duty to provide a safe workplace. Many states and Canadian provinces let a worker refuse work they reasonably believe is unsafe, and several protect workers who raise safety concerns from retaliation. Document the conditions, name your concern out loud, ask for the limits to be adjusted, and escalate through your safety committee or regulator if nothing changes. Rules differ, so check your local law and agreement.
What are the 5 P’s for cold weather?
Provide warm shelters, radiant heaters, warm drinks and dry clothing. Protect workers with layered, properly fitting cold weather PPE. Pack an emergency kit with blankets, spare gloves and extra clothing. Pair workers so nobody works alone in the cold. Plan the work around the forecast, with written work-rest limits and a stop-work call. An older four-P version uses provide, protect, plan and prepare, so older site documents may read differently.
How long can workers stay outside in the cold safely?
It depends on temperature, wind, task intensity and clothing insulation, which is why guidance is expressed as a work-rest schedule rather than a time limit. Below 32 F, heavy work is often limited to about 15 minutes outdoors followed by 45 minutes of warming. Moderate work allows roughly 30 minutes, and light work about 45. Treat those as planning starting points, shorten them for wet tasks and new workers, and key your own schedule to the wind chill rather than air temperature alone.
Should workers drink coffee or alcohol on a cold job?
Neither. Caffeine works against heat production and adds to fluid loss, and alcohol widens the blood vessels so you lose heat faster while your judgment about how cold you are declines. Offer warm water, warm broth, or sports drinks, and make them easy to reach on site. Pair the drink with warm, high-calorie food early in the shift rather than a heavy meal right before it, which leaves people warm, drowsy and less able to do careful work.
Why can’t I get warm right after coming in from the cold?
This is afterdrop. In severe cold, the blood vessels in your arms and legs narrow to protect the core. When you start to warm up and those vessels open, cold blood from the limbs flows back toward the core and pulls your core temperature down further, so you can keep feeling colder for a while after getting inside. Heat production is also suppressed at low core temperatures. Warm gradually, warm the whole body, keep the head covered, and avoid direct heat and rubbing of the limbs.
How do you train a crew for cold weather work?
Keep it short, specific and repeated before the season, not delivered once in October. Cover the five Ps, your work-rest schedule and the trigger points for delaying or stopping work, then make crews practise the clothing system and the buddy check on a real shift. Show a worker the difference between early shivering and the red flags, and rehearse the emergency call, including how to give EMS your exact site location. Write the plan down and review it at every shift briefing when conditions change.
Conclusion
Cold stress injuries follow a short chain: a forecast that understated the wind, a clothing system that trapped sweat, a shift that ran long, and warning signs read as ordinary tiredness. Break any link and the outcome changes.
So start with these five actions. Check the real conditions on site, including wind speed, before the shift. Dress in three layers with nothing cotton against the skin, and cover the head, hands and feet. Set written work-rest limits and warm breaks in a heated shelter, and hold to them on schedule. Watch your crew on a timer, with pairing so nobody is alone in the cold. Keep a warm shelter, dry spare clothing, a hot drink station and a rehearsed emergency call ready before you need them.
WorkSafeBC, NIOSH and the state-plan agencies all frame it the same way: plan the work for the weather, dress for it, and watch for the signs early. That is the whole job.
1 thought on “Cold Stress Prevention for Outdoor Workers: 2026 Safety Plan”